Touring
On a long ride, the constraints change. Power and storage decide what you can record, and the best moments rarely arrive when you planned them.
Touring changes the arithmetic of recording. On a two-hour ride, power is a minor concern and you can record generously. On a multi-day route, every gram, every charge, and every gigabyte has to justify itself against everything else you are carrying.
That constraint is not a reason to skip recording. It is a reason to plan it properly.
Plan the route around resupply, not just distance
Touring routes are usually judged on their scenery and their surfaces. The practical constraint is resupply: where you can eat, drink, and charge.
- Identify towns at sensible intervals. A 100 km gap with no shop is a different proposition to the same distance through villages.
- Note charging opportunities. This is the one that affects recording directly.
- Check for bail-out options. Trains, bus routes, and main roads are useful escape hatches.
- Plan the hard days earlier. Energy and enthusiasm are highest at the start.
Surface matters more when loaded. A rough track that is fine on an unladen bike becomes punishing with luggage, and it is also the worst case for recorded footage.

The touring kit, by weight priority
The gear question in touring is really a weight-ordering exercise.
| Priority | Item | Why |
|---|---|---|
| 1 | Repair kit and spare tube | A stop far from help is the worst outcome |
| 2 | Weather protection | Rain and cold end days early |
| 3 | Charging and power | Governs both navigation and recording |
| 4 | Layering | One good layer beats three mediocre ones |
| 5 | Comfort items | Small, and disproportionately valuable |
| 6 | Recording equipment | Chosen for weight, not capability |
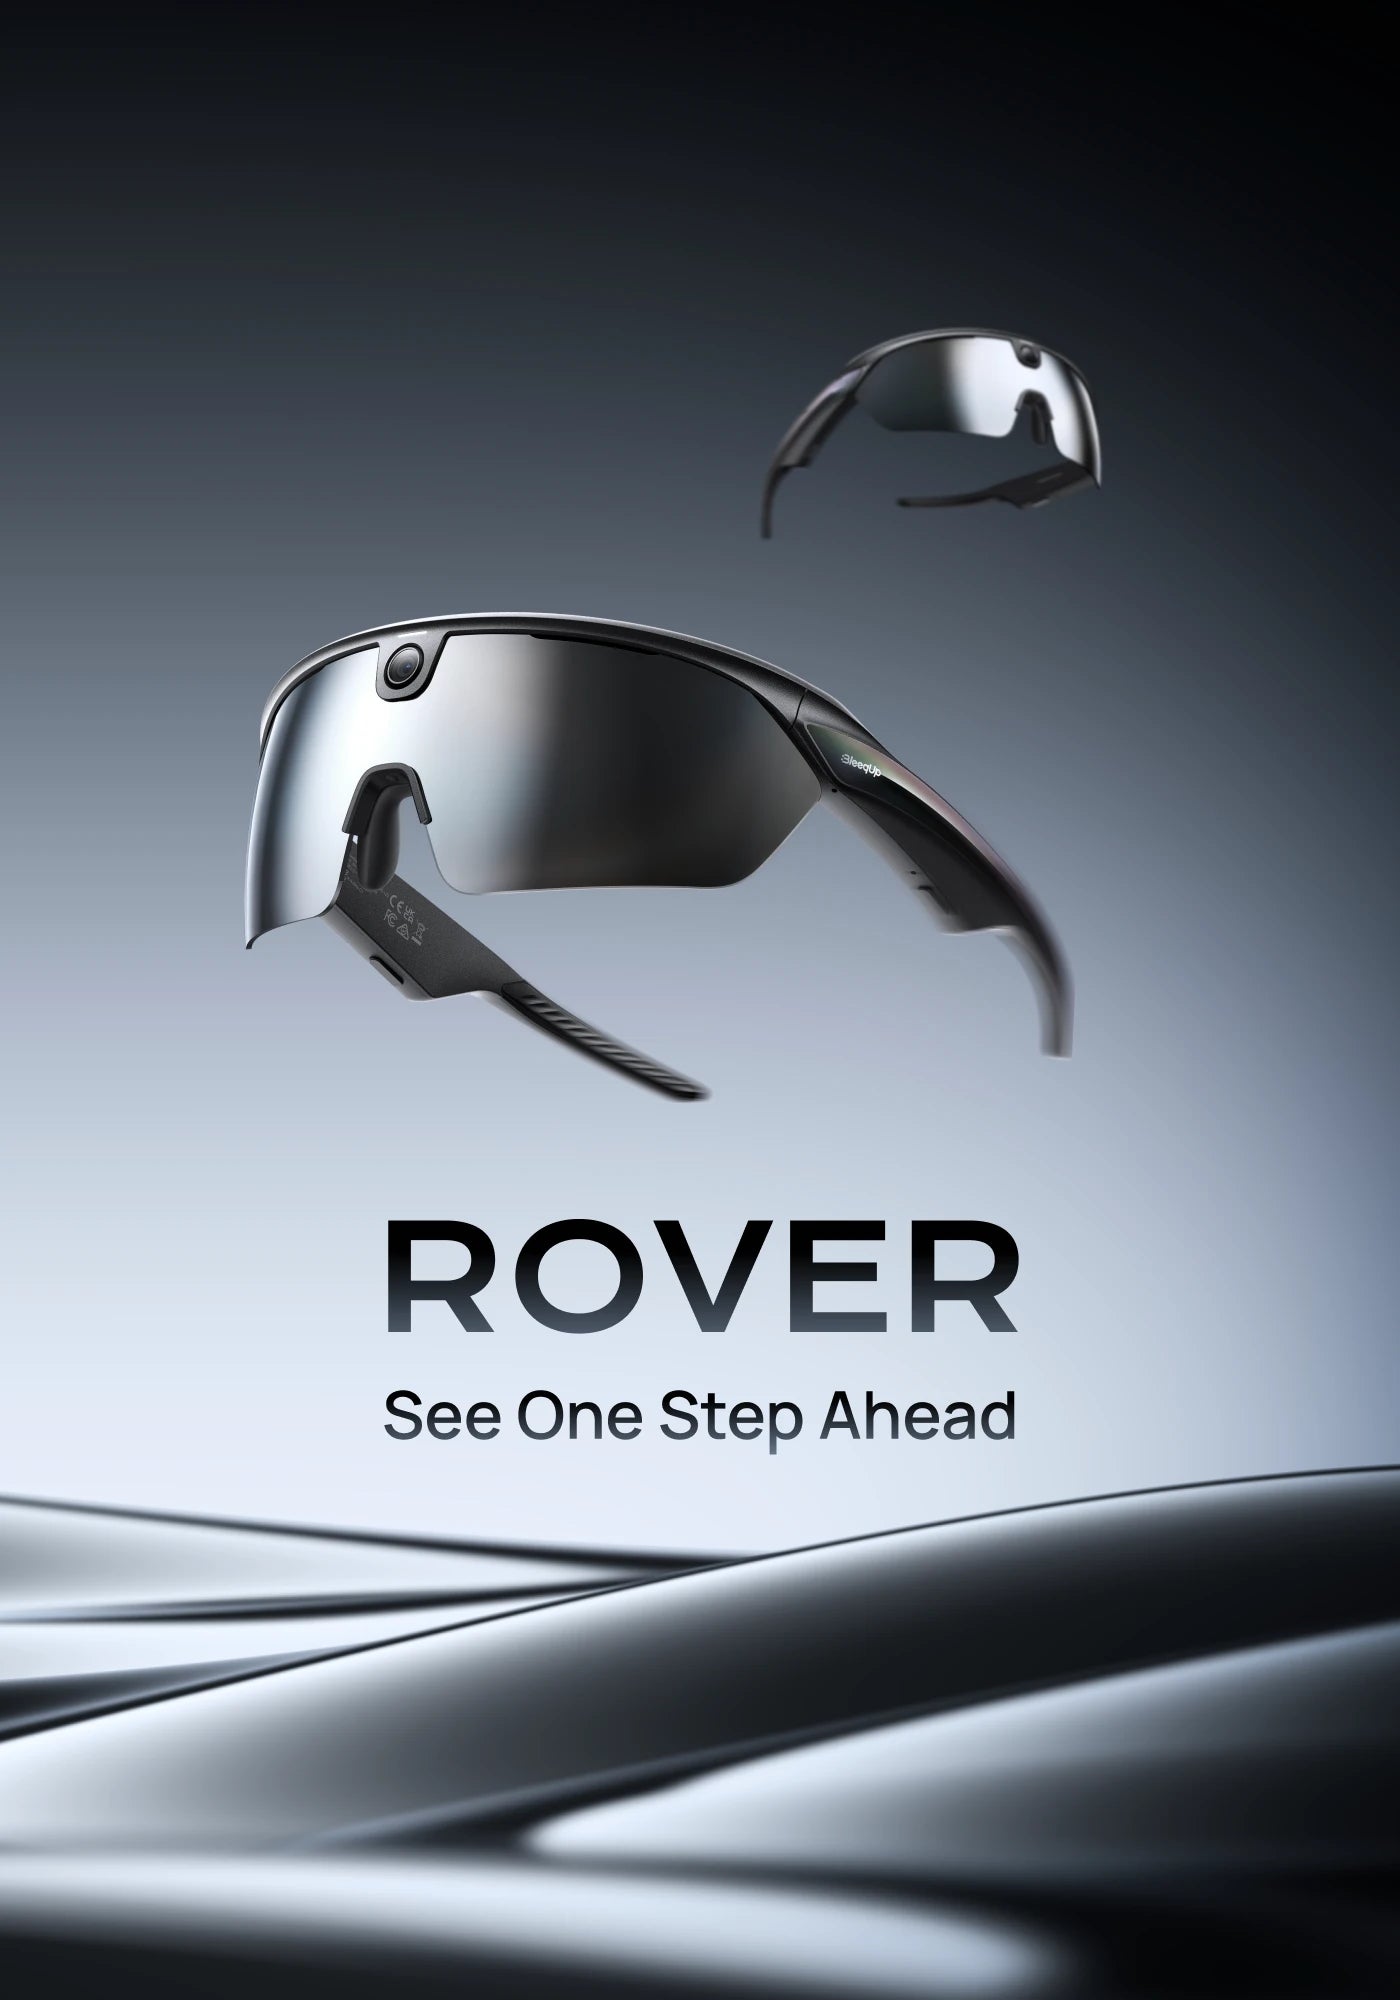
Notice that recording sits at the end of the list. On tour, the best camera is the one that adds nothing to carry. This is the strongest practical argument for camera glasses on a multi-day ride: there is no mount, no case, and no separate battery system, because the recording hardware is already part of the eyewear you would carry anyway.
Where power actually goes
On tour, three things compete for the same battery: navigation, phone, and camera. Navigation and the phone usually win, which is why continuous recording across a full day rarely survives contact with reality.
The practical approach is to record deliberately:
1. Pick the moments. A pass, a descent, a town arrival, camp. 2. Record short. Twenty to forty seconds each, and stop. 3. Keep other power use lean. Navigation offline where possible, screen brightness down. 4. Charge whenever there is mains power. Cafés and accommodation, not just campsites.
Rover records up to about one hour of continuous video from the glasses, extended to roughly five hours of recording with its own power bank, subject to settings and conditions. On tour, that matters most as a way to avoid choosing between recording the morning and the afternoon.
Practical note:: if you are also recording for memory rather than for publishing, a very small number of short clips per day is usually enough. Ten seconds of a pass on day three is worth more in a year's time than an hour of uneventful road.

Storage and file management
Multi-day recording without management becomes an evening of shuffling files. Two habits prevent it:
- Review each evening and delete the failures. Most clips have a bad take.
- Keep a short daily folder. Day one, day two, and so on. Retrieval later becomes trivial.
If you are recording for a trip record rather than daily publishing, short clips are far easier to manage than long ones. They are also easier to find again.
Match the setup to the terrain
| Terrain | Recording consideration |
|---|---|
| Rolling farmland | Easy; record generously |
| Mountain passes | The memorable moments; save power for climbs and descents |
| Gravel and forest tracks | Constant motion; stabilisation is the priority |
| Remote stretches | Power management dominates; charge at every opportunity |
| Towns and cities | Usually the least interesting; skip |
A concrete example is BleeqUp Rover, which keeps capture inside the eyewear you were going to carry anyway, so touring kit does not grow.
Keep the ride the point
The failure mode of recording on tour is spending the trip managing equipment. If you are stopping to adjust something every hour, the recording is costing you the experience it is meant to preserve.
The test is simple: would you carry this if it never produced a single clip? If not, it is too much. A pair of glasses passes that test because you were going to wear eyewear regardless, which is the whole argument for recording with the thing already on your face.
For the wider accessory question, see cycling accessories that help you record. For planning the route itself, how to plan a bike route for recording covers the method, and loop recording explains how continuous capture can work without filling storage.
FAQ
What gear do I need for bike touring?
A repair kit and spare tube, weather protection, a charging plan, layering, and comfort items. Recording equipment should come last, chosen for weight rather than capability.
How do I record a multi-day bike tour?
Record deliberately rather than continuously: a few short clips per day, focused on the moments worth remembering, with other power use kept lean. Review and delete failures each evening.
How much can camera glasses record on a tour?
BleeqUp Rover records up to about one hour of continuous video from the glasses, extended to roughly five hours of recording with its own power bank, subject to settings and conditions. On tour, short clips stretch that considerably.
How do I plan a bike touring route?
Prioritise resupply points over distance, check surfaces with luggage in mind, identify bail-out options, and schedule the hardest days early in the trip when energy is highest.
What is the difference between bike touring and bikepacking?
Touring typically uses racks and panniers on paved or mixed roads, while bikepacking uses frame bags and lighter kit for rougher tracks. The route surfaces differ more than the bikes.